Perch Lake Lumber CO. #4
Layout Rebuild
Replacing the wooden roadbed
After a winter of little use with the house at 55 degrees F. and no additional humidity problems developed with the wooden roadbed and the combination of wooden turnout-ties and the plastic ties of the flex track.
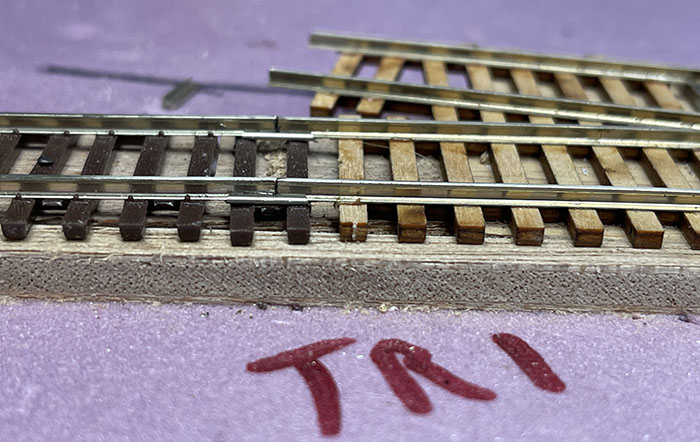
The wooden roadbed and the ties of both the turnouts and the flex track changed in size (both length and height) causing issues with the ability to operate the railroad.
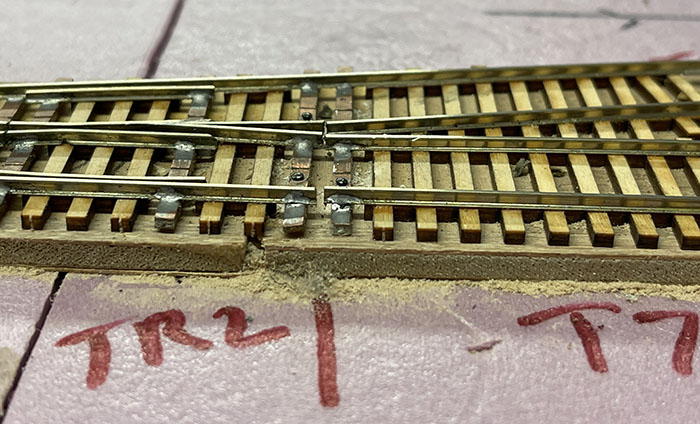
Turnouts on Quick Sticks wooden roadbed which had not been painted or stained would misalign the gapped rails soldered to PC board ties that were spiked to the wooden roadbed.
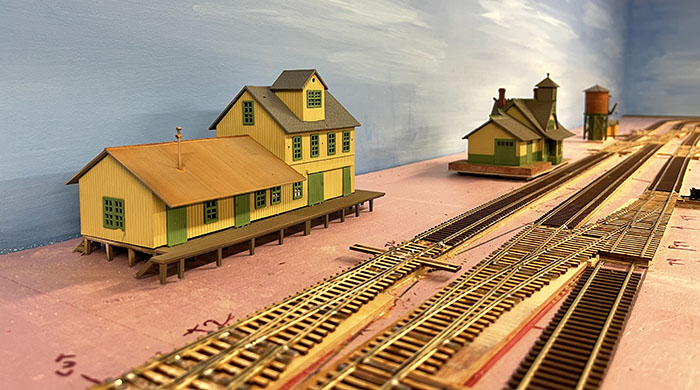
In sections like this the flex track may at times bow up to more than an inch over three feet.

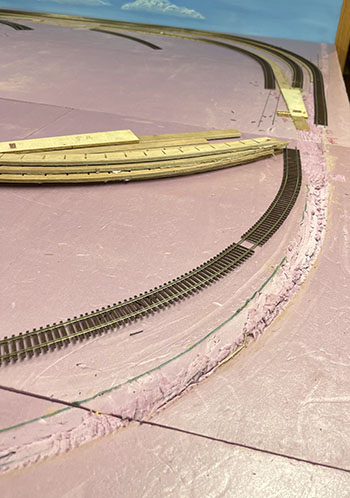
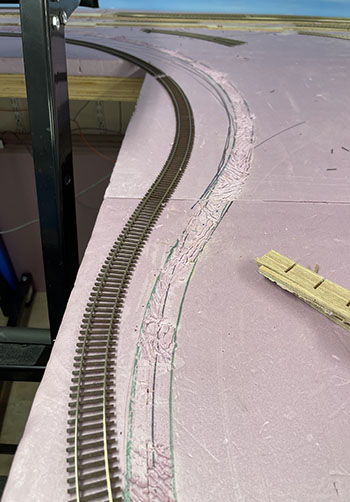
Track on curves were moving away from the roadbed.

These are just a few examples of the movement of the track and other issues with the wooden roadbed as I had installed it on the foam.
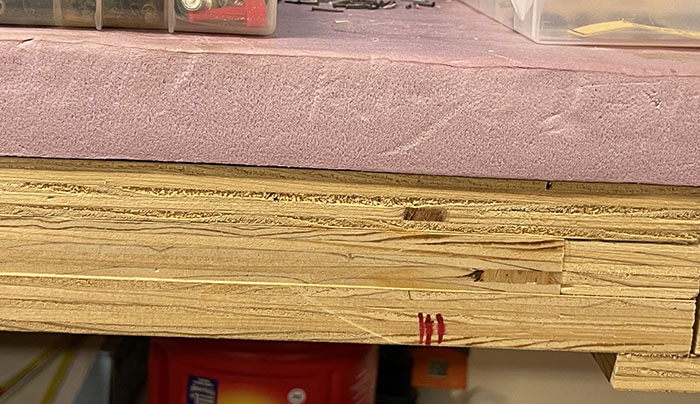
This is an example of the foam on the shelf sides of the layout. The base is made of three-fourths inch furniture grade plywood with 4' X 8' panels cut lengthwise and then turned over on themselves with three-fourths inch bracing between each one-half inch sheet at 16" centers and around the outside. They were stable shelves. The theatre department at Yale University created a design which can hold dancers even when extended off the stage. It does hold the layout but is a problem. With the time and expense put into the building of the original shelf I continue to use the shelf portion for the layout.
Determined to rebuild the layout in HO standard gauge with hand laid turnouts and code 83 flex track on foam roadbed I started to remove the wooden roadbed.
The only problem was that the foam base came up with the glue that held the wooden roadbed.
The answer was to replace the top of the foam with new 1/2" foam.
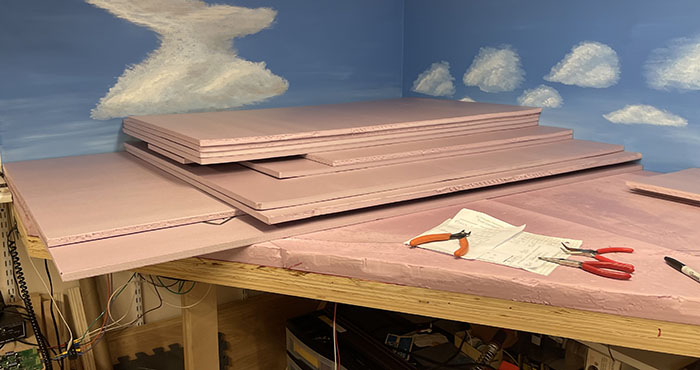
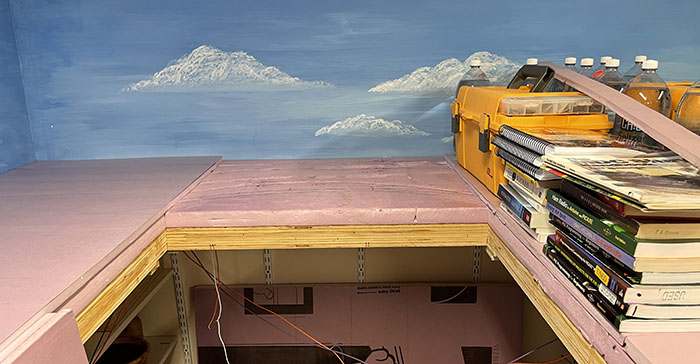
Installation of the foam was easy and holding it down was not a problem with the number of books and tool boxes I have in the Railroad Room.
In addition to the replacement of the foam I decided to redraw the layout to give additional spacing and move the track away from the walls. This required an extension of the center section shown below.
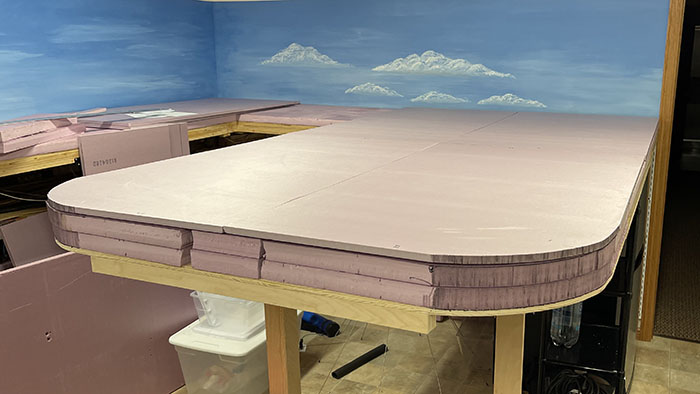
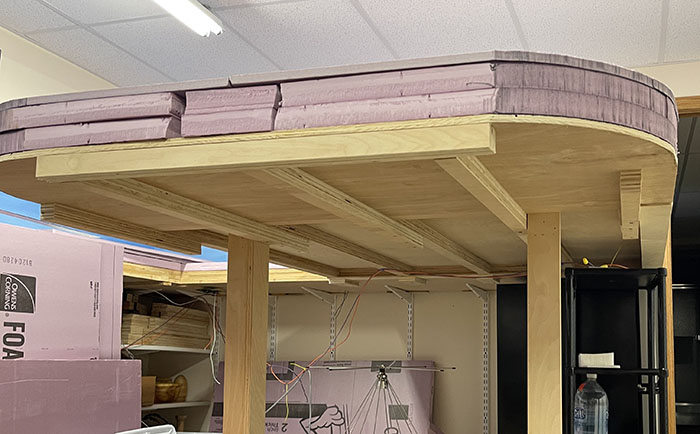
The extension has a 1/2" plywood base and foam to match the rest of the layout.
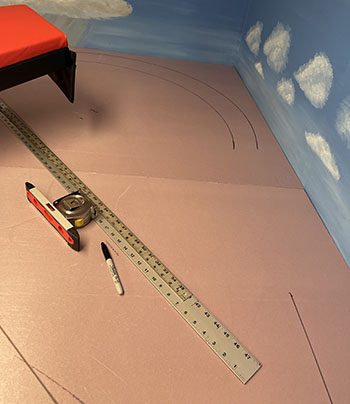
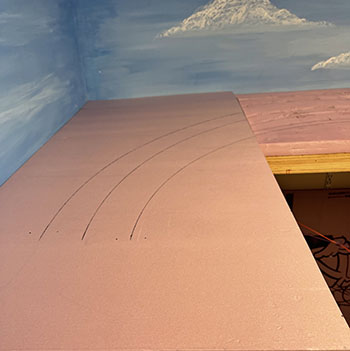
With the new foam in place it was time for the planning and marking tools to layout the centers of the track for the roadbed locations.
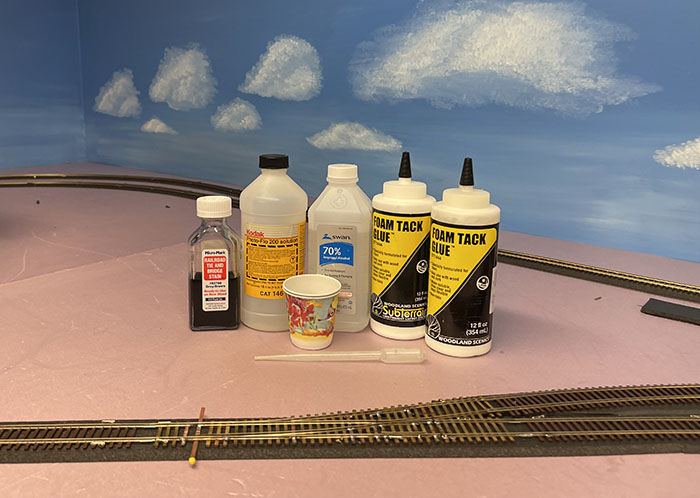
Materials in hand I started to install the roadbed by pinning it to the foam and then gluing it down after I was sure of the fit.
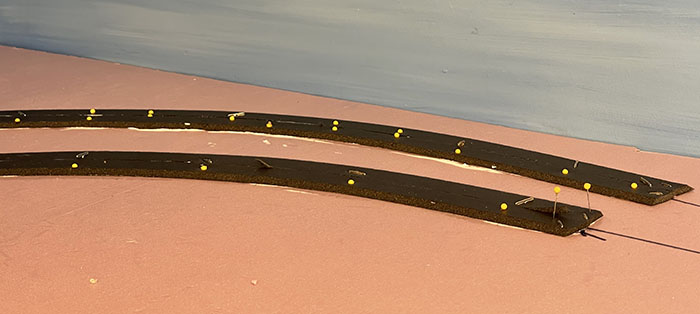
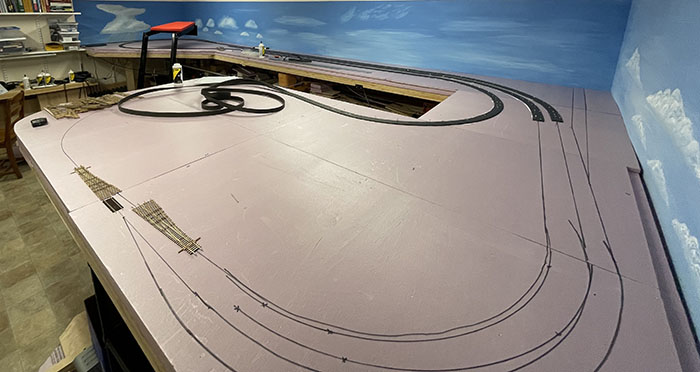
Turnout locations were checked and the roadbed was installed.
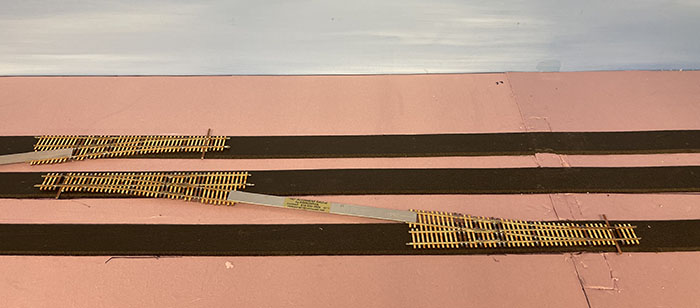
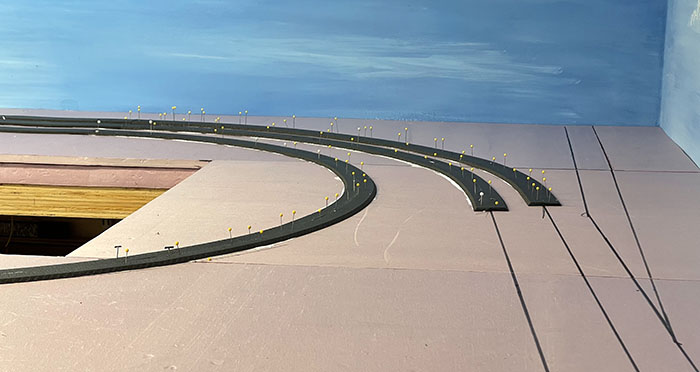
After the glue was dry, I pined the flex track and the turnouts to the roadbed with quilting pins and tested the operation. After proofing, the track was glued where no new sidings would be installed and the layout was again tested for both rail and electrical operation.
Continued in Section 5, Laying out the HO Layout (Click here)
Return to the top(Click here)
Return to Paul's Workshop (Click here)
Join us in the “Greatest Hobby” as a member of the TLMRC.


